Tuesday, February 18, 2014

Objective Markers

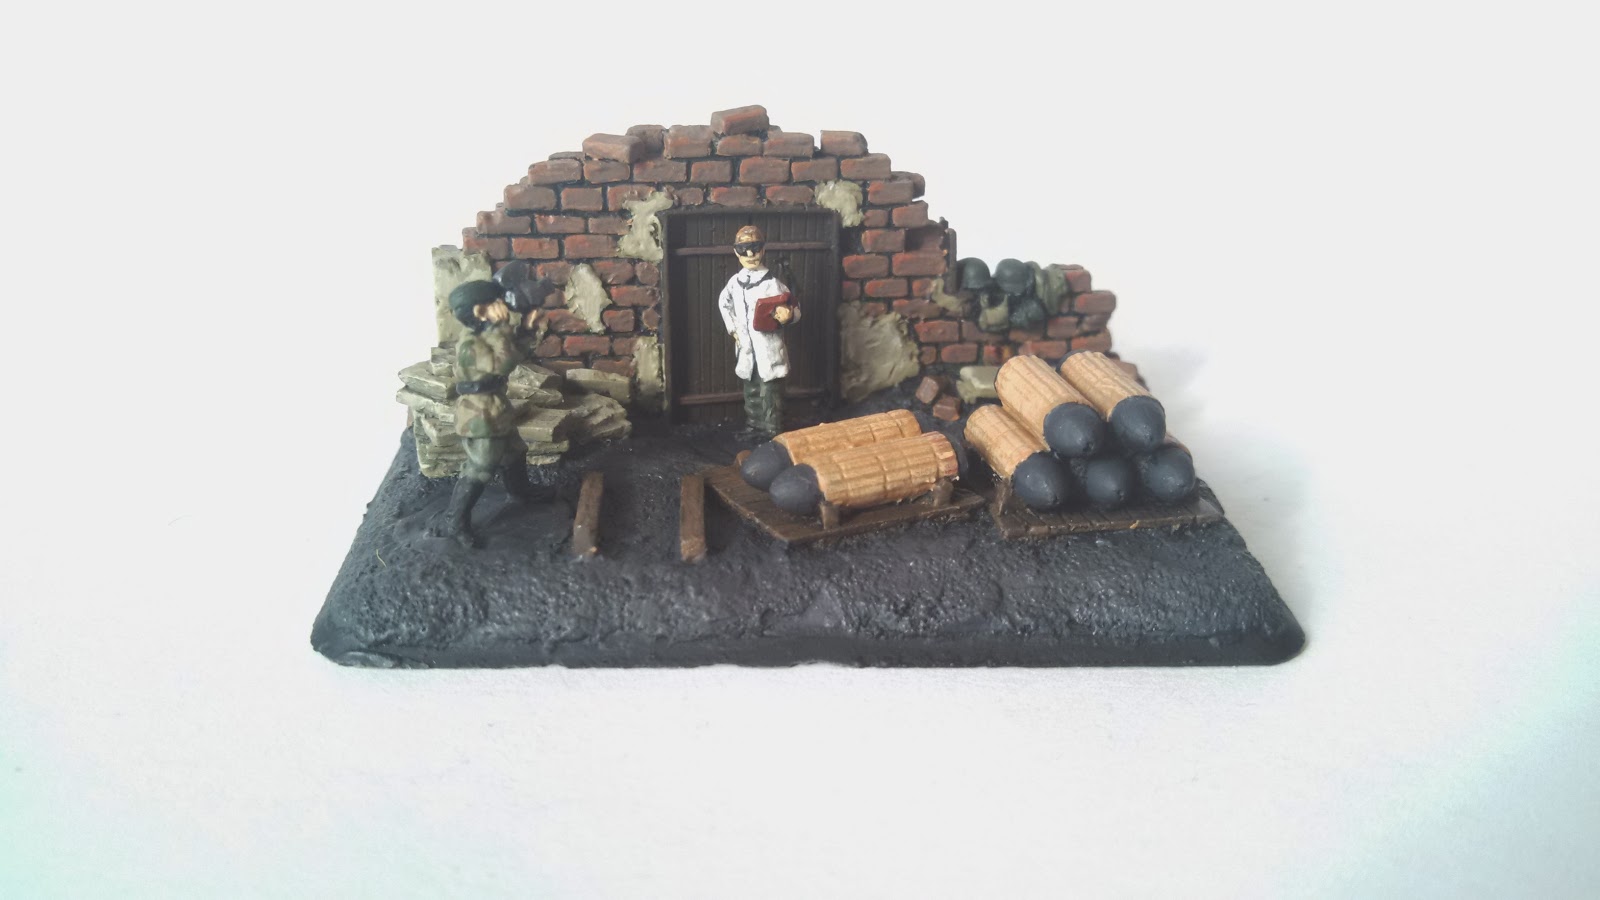
I finished up my objective markers today. I sealed them and flocked the crashed kubelwagen so that it doesn't have painted grass on it - since the dude went through a fence into a field. While I could add some decals to the car, like the iron cross,  I think simple is better in this case.

Anyways, for your viewing pleasure....


Both of the objectives next to each other

The Sturmtiger objective


Sunday, February 16, 2014

Objective Marker Progress

I am about 75% done with the objective marker that came with my Sturmtiger box set. I'm having an issue trying to determine how to make the padding around the rockets to come out looking realistic enough without them being cartoonish. Anyways, I'll post more on this later but here is where it stands right now...

My camera phone's flash is making some wash areas look unpainted - grrrr!!

Thursday, February 13, 2014

Sturmtigers!

The Sturmtiger's I bought off of Ebay arrived today and after opening them, I found that I was missing a rocket barrel for one of them. I contacted BF's customer service so hopefully I'll get a replacement for it. Anyways, I found the models to be cleanly molded, with little flash and were easy to put together.

A quick coat of black primer and I was off to painting the objective marker that came with the set. One of the reasons I bought this set was due to the objective, since I don't have any other than the cardboard versions that came with Open Fire!. So far i have the basecoat for the bricks down, as well as the wood color.

I'll be finishing this objective before I move on to any of the models on my Shelf of Shame - in fact the 2 tanks now get added to it (they like the rest of the tanks are awaiting for my airbrush).


Tuesday, February 11, 2014

Houses

So it's no secret that the Battlefield in a Box (BiaB) series has been seriously slow in releasing new houses in their line. In fact, I've had an order for houses for over a year that's yet to be filled. I emailed Battlefront asking when they'll be released and this is the response I received:

Jason,

Unfortunately I do not know when they are going to make these houses if ever.  Sometimes when there is enough material to make these, they will go ahead and produce a couple, then surprise me on my next shipment.

Sorry this if this wasn't helpful. 

Thank you,

Andrew Smith

Battlefront Miniatures USA
 

Sunday, February 9, 2014

Mold time! Day 2

So I poured the second half of the mold this morning, and waited for it to set.  First the good news...

The two piece mold was a success. I had no problem separating the 2 pieces at all from each other once the RTV cured.

Now the bad news, the master flame markers I made are just too porous and they disintegrated in the RTV. So all that hard work I put into making this mold was all for naught. I'm going to have to make a master out of hardened clay and then try to cast that. 

It'll take me a few days to try to create a set of new masters to cast.


Saturday, February 8, 2014

Mold time!

I received my silicon yesterday and after letting it warm up for a day inside I am making the mold for the explosion markers. Based on what the company said, this material they provided to me (aka sample) withstands resin extremely well. Once the mold has time to cure, I'll need to remove the modelling clay I used so I can pour the second part of the mold. 

I decided to make a 2 part mold due to the complexity of the markers, so it'll make demolding the resin that much easier. Unfortunately, this is the first time I've done a 2 part mold - in the past I've done tons of single stage molds, but this is a whole different animal. 

So here is what I have so far today:

Is there nothing LEGO can't do?
So how did I make the mold? I took modelling clay and surrounded the markers (2 in this case) halfway around them. Once I had that done, I filled the rest of the mold cavity with clay so that it provides a flat surface for the second piece of the mold. I then pour the silicon and let it set. Once that is set, I'll flip the form and remove all of the clay. Once the clay has been removed, I'll use mold release and spray the living crap out of the piece of poured today. After that I'll pour a second batch of silicon and wait for that to cure. After that I should have a 2 part mold and the only thing I'll have to do is clean up the mold fill points so I can pour the resin.

More tomorrow...

Friday, February 7, 2014

Bogged Down markers

So I'm always one to make the board a little more "cool looking" whenever i play, and I've seen these someplace before (I can't remember the site i was on). I thought I'd make a few for myself since I had some spare figures laying around after a recent trade. I decided to paint the troops up in the Summer Oak Leaf uniforms, just to make them stand out a little more. 

I think what I'm going to do once I get some bailed out figures that I'm going to make some of these that represent bailed out. I think I'll use red striping on the side (again I saw it on the same site) to help differentiate them on the table.

What do you guys think?