Thursday, March 13, 2014

That's a lot of lead...


I spent most of last night cleaning and gluing multiple blisters of figures down to popsicle sticks last night.

What you see here so far is:

  • Warriors of Market Garder
  • FJ Machine gun platoon
  • Begleit Assault platoon
  • 21cm NW42 rocket launcher 
  • 8cm GW34 mortar platoon
  • Generalmajor Remer
I still have about 5 more blisters worth of figures to glue to sticks but I don't wan tto overwhelm myself with too many infantry at a time.

After proxying Remer so many times, I decided to buy his blister. He's always been a good warrior for me, so he deserves to be painted up and used right, if only to intimidate my foes.

First though, I just need to finish up some little touches here and there on the tanks I recently finished. Once I'm done with that, I'm going to prime and start work on these guys.

Wednesday, March 12, 2014

My New Airbrush Results

So I finally received my new GREX Tritium TS airbrush set for my birthday. I have to say, while it's the first airbrush I've owned and used, it is SUPER easy to use. I was able to lay down nice clean base coats, as well as 3 color camo patterns on all of my tanks and half-tracks that needed some loving.

I was able to clean off about 80% of my shelf of shame tanks in my first outing using the airbrush. The only thing I didn't tackle yet, is the hard edge camo patterns I plan to use on my Panther G's. I need to save up to get some blue tack or Silly Putty to put the edging on.

So, without further ado, here are some pictures...

Pre-Pin Wash

Post-Pin Wash
What do you folks think? I still need to finish up the tracks and add antennas to the tanks, but at least it's stuff I can knock out as time permits.

Tuesday, February 18, 2014

Objective Markers

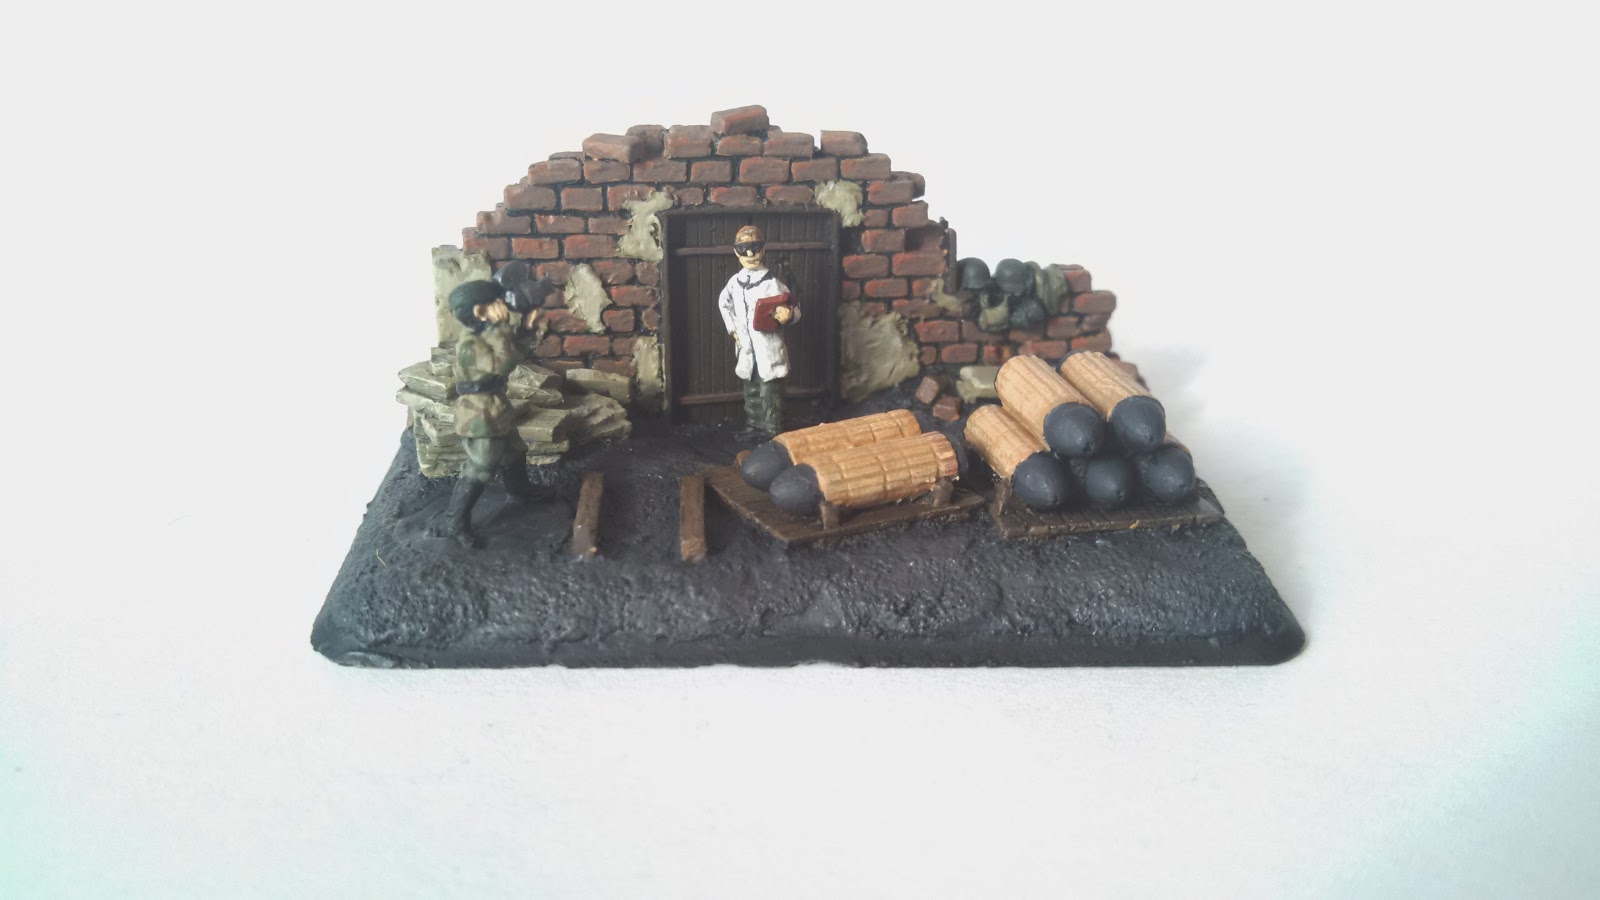
I finished up my objective markers today. I sealed them and flocked the crashed kubelwagen so that it doesn't have painted grass on it - since the dude went through a fence into a field. While I could add some decals to the car, like the iron cross,  I think simple is better in this case.

Anyways, for your viewing pleasure....


Both of the objectives next to each other

The Sturmtiger objective


Sunday, February 16, 2014

Objective Marker Progress

I am about 75% done with the objective marker that came with my Sturmtiger box set. I'm having an issue trying to determine how to make the padding around the rockets to come out looking realistic enough without them being cartoonish. Anyways, I'll post more on this later but here is where it stands right now...

My camera phone's flash is making some wash areas look unpainted - grrrr!!

Thursday, February 13, 2014

Sturmtigers!

The Sturmtiger's I bought off of Ebay arrived today and after opening them, I found that I was missing a rocket barrel for one of them. I contacted BF's customer service so hopefully I'll get a replacement for it. Anyways, I found the models to be cleanly molded, with little flash and were easy to put together.

A quick coat of black primer and I was off to painting the objective marker that came with the set. One of the reasons I bought this set was due to the objective, since I don't have any other than the cardboard versions that came with Open Fire!. So far i have the basecoat for the bricks down, as well as the wood color.

I'll be finishing this objective before I move on to any of the models on my Shelf of Shame - in fact the 2 tanks now get added to it (they like the rest of the tanks are awaiting for my airbrush).


Tuesday, February 11, 2014

Houses

So it's no secret that the Battlefield in a Box (BiaB) series has been seriously slow in releasing new houses in their line. In fact, I've had an order for houses for over a year that's yet to be filled. I emailed Battlefront asking when they'll be released and this is the response I received:

Jason,

Unfortunately I do not know when they are going to make these houses if ever.  Sometimes when there is enough material to make these, they will go ahead and produce a couple, then surprise me on my next shipment.

Sorry this if this wasn't helpful. 

Thank you,

Andrew Smith

Battlefront Miniatures USA
 

Sunday, February 9, 2014

Mold time! Day 2

So I poured the second half of the mold this morning, and waited for it to set.  First the good news...

The two piece mold was a success. I had no problem separating the 2 pieces at all from each other once the RTV cured.

Now the bad news, the master flame markers I made are just too porous and they disintegrated in the RTV. So all that hard work I put into making this mold was all for naught. I'm going to have to make a master out of hardened clay and then try to cast that. 

It'll take me a few days to try to create a set of new masters to cast.